


Why Garbage Disposal Installation is More Accessible Than You Think
Garbage disposal installation is a straightforward DIY project that most homeowners can complete in 2-4 hours with basic tools and careful attention to safety. While it may seem intimidating at first, the process involves simple steps that don’t require advanced plumbing or electrical expertise.
Quick Installation Overview:
- Turn off power at the circuit breaker
- Remove old disposal (if replacing) and clean the sink area
- Install new flange and mounting assembly with plumber’s putty
- Connect electrical wiring (white to white, black to black, green to ground)
- Mount the disposal unit to the mounting ring
- Connect plumbing including P-trap and dishwasher hose if needed
- Test for leaks and proper operation
The average garbage disposal unit lasts about 10-12 years, making replacement a common home maintenance task. Most disposal units cost between $150-$250, and with DIY installation, you can save the typical professional installation fee of $250-$400.
Modern garbage disposals are designed for easier installation than older models. Standard sink drains measure 3-1/2 to 4 inches, and disposal outlets are universally 1-1/2 inches, making connections straightforward. Most units also come with clear instructions and all necessary mounting hardware.
The key to success is proper preparation and following safety protocols. You’ll need basic tools like screwdrivers, pliers, and plumber’s putty, plus about an afternoon to complete the project.

Before You Begin: Tools, Materials, and Choosing Your Disposal
Preparing for your garbage disposal installation means gathering the right tools and materials to ensure a smooth project. You likely own most of what you’ll need, but you’ll have to choose the right disposal for your home. We’ll walk you through everything.

Essential Tools and Materials for Garbage Disposal Installation
Most of these tools are common household items. You’ll need a screwdriver set (Phillips and flathead), adjustable channel-type pliers for gripping pipes, and a hammer to knock out the dishwasher plug if you’re connecting one. A bucket is essential for catching water when you disconnect old plumbing.
Safety glasses are non-negotiable for protecting your eyes. You’ll also want plumber’s putty for a watertight seal around the sink flange and wire nuts for safe electrical connections.
A flashlight or headlamp is crucial for the dark under-sink area. Complete your kit with wire strippers and a voltage tester to ensure the power is off before handling wires.
Of course, you’ll need your new garbage disposal unit. Most include mounting hardware, but double-check. You might also need a power cord if your unit isn’t hardwired, as some plug into an outlet while others connect directly to your home’s wiring.
Choosing the Right Garbage Disposal
Not all garbage disposals are created equal. Picking the right one depends on your family’s kitchen use.
Continuous feed disposals are popular and work with a wall switch, allowing you to add scraps while it runs. They’re convenient and budget-friendly, but may require new wiring for the switch, complicating installation.
Batch feed disposals are a safer choice, running only when a special stopper is inserted. They are quieter and often have simpler electrical needs, though they cost more upfront.
Horsepower matters. A 1/3 HP unit is fine for light use (a single person or couple). 1/2 HP disposals handle most average households, grinding typical food scraps easily.
For a busy kitchen with lots of cooking, consider 3/4 HP or higher. These powerful units tackle tougher scraps but are often larger, so measure your under-sink space first.
Got a septic system? The extra solid waste from a disposal can overwhelm it. Many professionals recommend avoiding disposals with septic systems. If you’re unsure, consult your septic service provider.
When shopping, look for stainless steel components over aluminum for better longevity and corrosion resistance. Also, check the unit dimensions—most are 10-15 inches tall and 5-9 inches wide, but higher-powered models can be bulkier.
The sweet spot for most homes is a 1/2 to 3/4 HP continuous feed disposal with stainless steel components. It will handle daily kitchen cleanup and last for years.
Step-by-Step Garbage Disposal Installation Guide
Now for the actual garbage disposal installation. We’ll walk through each step to ensure everything is done safely and correctly.
First, safety. Turn off the power at the circuit breaker. If you’re unsure which breaker it is, turn off the main kitchen breaker. Use a voltage tester to double-check that the power is off. This step is non-negotiable. Also, shut off the water supply valves under the sink. Clear out the under-sink cabinet and place a bucket under the drain pipes to catch spills.
Step 1: Remove the Old Unit and Prepare the Sink
If you’re replacing an existing disposal, start by removing the old unit.
Disconnect the pipes first. With a bucket underneath, use adjustable pliers to disconnect the P-trap from the disposal’s discharge tube and the dishwasher drain pipe, if connected. The standing water in the P-trap is normal.
Detach the disposal. Most units use a 3-bolt or EZ mount system. Loosen the bolts evenly. The disposal is heavy, so get help or prop it up as it comes free.
Remove the old mounting ring by loosening its screws under the sink, then push the old sink flange up from the drain opening.
Clean the sink flange area thoroughly. Use a putty knife to scrape away all old plumber’s putty and sealant residue. A clean surface is crucial for a leak-free seal. For more insights on keeping your drains in top shape, check out How to Prevent Clogged Drains – Plumber Tips.
Step 2: Install the New Sink Flange and Mounting Assembly
This step sets the foundation for a leak-free installation, so precision matters.

Apply plumber’s putty. Roll a rope of putty about half an inch thick and press it firmly around the underside of the new sink flange to create a watertight seal.
Install the sink flange by pressing it firmly down into the putty from above. Have a helper hold it, or place a heavy object on top to keep it seated.
Stack the mounting components underneath in the order specified by the manufacturer’s instructions, typically a fiber gasket, backup flange, and mounting ring.
Secure everything by tightening the mounting screws evenly. Excess plumber’s putty will squeeze out around the flange above; wipe it away. The mounting ring should be rock-solid against the sink bottom.
Step 3: Electrical Wiring and Dishwasher Connection
Remember our golden rule: always double-check that the power is off before touching any wires.

Electrical connections depend on whether your unit is hardwired or plugs in. For hardwired units, remove the electrical cover plate. Connect the wires using wire nuts: white to white (neutral), black to black (hot), and the green ground wire to the disposal’s ground screw. Ensure connections are tight. If you need a refresher on proper wire stripping technique, this helpful guide covers the basics: How Do I Strip a Wire?.
The dishwasher knockout plug is critical. If connecting a dishwasher, use a hammer and screwdriver to punch out the plastic plug from the disposal’s inlet. Retrieve the plug from inside the disposal. If you are not connecting a dishwasher, leave this plug in place to avoid drainage problems.
For ongoing drain maintenance needs, our team offers professional Drain Cleaning services to keep everything flowing smoothly.
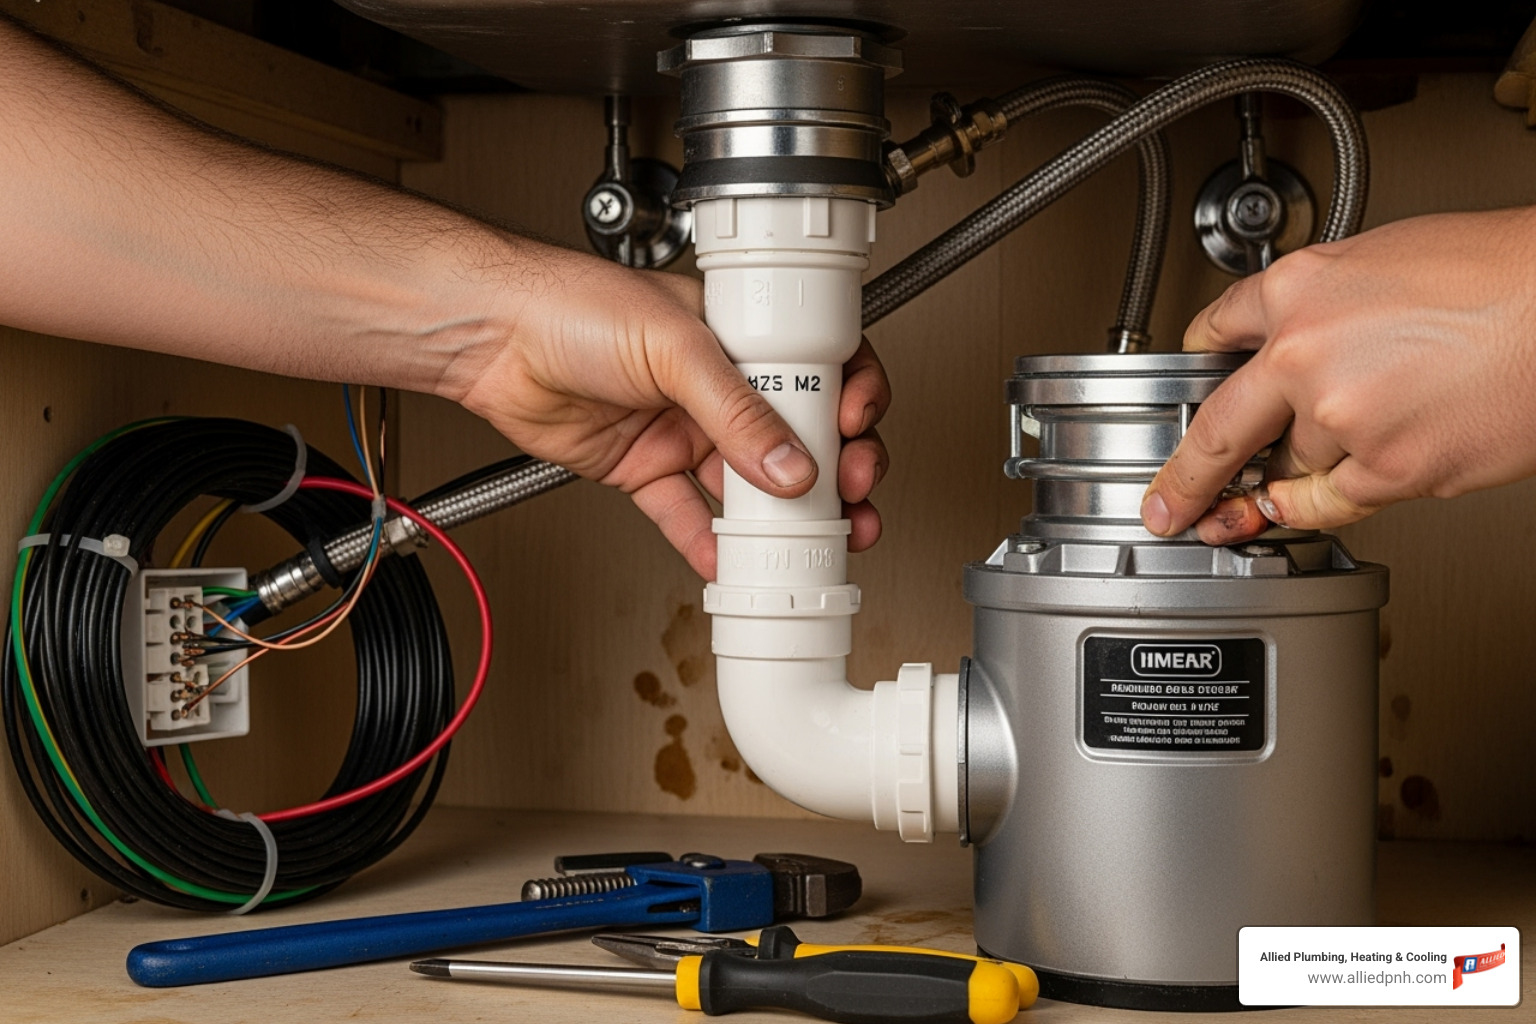
Step 4: Mount the New Disposal and Connect the Plumbing
We’re in the home stretch. This final step brings everything together.
Mount the disposal by lifting the unit and aligning its mounting collar with the tabs on the mounting ring. These units are heavy, so a second pair of hands is helpful.
Lock everything in place by twisting the disposal clockwise until it engages completely. Some models require using a screwdriver to turn a mounting collar lug. The unit should feel rock-solid with no wobbling.
Connect the discharge tube to the disposal’s outlet using the provided bolts and gasket. Make it snug, but don’t overtighten.
Reconnect the P-trap to complete the drain connection. You may need to adjust pipe lengths. Hand-tighten for now; we’ll do a final tightening after testing for leaks.
Connect the dishwasher hose if applicable. Secure the hose to the disposal’s inlet nipple with a hose clamp to prevent water damage.
If you notice any unusual sounds after installation, like gurgling from your drains, our guide on Fixing Gurgling Sounds in Home’s Plumbing System can help you troubleshoot the issue.
Testing, Maintenance, and Troubleshooting
After your garbage disposal installation, it’s time to test for leaks and proper operation. This final check ensures your hard work pays off.
Testing for Leaks and Proper Operation
A systematic test run will help catch any issues early.
Restoring power is our first step. Head back to that circuit breaker and flip the power back on to the disposal circuit. While we’re at it, let’s turn those water supply valves back on under the sink too.
Now for the water test. Running cold water at a steady stream gives us the perfect opportunity to check our handiwork. Let that cold water flow for a minute or two while we play detective underneath the sink.
Checking connections is where we get to appreciate our careful installation work. With our flashlight in hand, examine every connection we made during the installation. Look closely at the sink flange, the discharge tube, the P-trap, and that dishwasher hose connection if we installed one. Run our fingers along the connections to feel for any dampness or drips.
If we spot a small leak, don’t panic! Most minor leaks can be fixed by gently tightening the slip nuts or bolts until the dripping stops. The key word here is gently – overtightening can crack plastic pipes and create bigger headaches.
For a thorough flange seal test, let’s plug the sink and fill it with a couple inches of water. This creates pressure against our plumber’s putty seal. After letting it sit for a few minutes, check underneath for any leaks around the mounting assembly. A dry area means we nailed the installation!
Time for the operational test! Unplug that sink, flip the disposal switch, and listen to our new unit come to life. It should hum smoothly and begin its grinding action. Keep that cold water flowing and let the disposal run for about 15-20 seconds. Turn it off, and congratulations – our garbage disposal installation is officially complete!
Maintenance for a Long-Lasting Disposal
A little maintenance will keep your new disposal running for years and help avoid common problems.
Cold water flushing is the golden rule of disposal care. Always run cold water before turning on the disposal, keep it running during operation, and let it flow for about 30 seconds after turning off the unit. Cold water helps solidify grease and food particles, making them easier to grind and flush away without sticking to our pipes.
Grind ice cubes weekly. This helps clean the grinding chamber and can even help keep the grinding components sharp.
Use citrus peels for cleaning. Grinding lemon, lime, or orange peels with cold water running cleans the unit and leaves everything smelling fresh.
Avoid fibrous foods like celery stalks, corn husks, and onion skins. These stringy materials can wrap around the grinding components and cause jams.
No grease or oil should ever go down our disposal or sink drain. It’ll solidify and create stubborn clogs.
Regular use keeps everything in working order. Turn on the disposal every few days with cold water running. This prevents rust and corrosion while keeping the moving parts properly lubricated.
Common Problems and Quick Fixes
Even with a perfect installation, you might encounter issues. Here’s how to handle common problems.
A humming noise without grinding indicates a jam. Never stick your hand inside the disposal! Turn off the power, then use a flashlight to find the obstruction. Use the hex wrench that came with the unit in the slot on the bottom to manually turn the grinding plate and free the jam. If you don’t have the wrench, use pliers carefully from above. Once clear, press the red reset button on the bottom of the unit.
Jams where the motor won’t even hum get the same treatment as humming issues. Power off, clear the obstruction, and hit the reset button.
Leaks from the bottom of the unit usually mean an internal seal has failed or the housing is cracked, which typically requires a replacement.
Slow draining or water backing up suggests a clog somewhere in the system. Start by disconnecting the P-trap and clearing any debris you find. If the problem persists, the clog might be deeper in the drain line and require professional attention.
If the disposal not turning on at all (complete silence), check the circuit breaker first – it might have tripped. If the breaker’s fine, try pressing the red reset button. If neither solution works, we’re likely looking at an electrical issue or motor failure that needs professional diagnosis.
When problems go beyond these quick fixes, it’s time to call in the experts. For situations that require immediate attention, check out this helpful guide: Emergency Plumbing Situations That Require Help.
DIY vs. Professional Installation: Making the Right Choice
We’ve seen that garbage disposal installation is a manageable DIY project for most homeowners. However, sometimes it’s wise to call a professional. The decision comes down to project complexity versus your available time, skills, and comfort level.
DIY vs. Professional Garbage Disposal Installation
The main benefit of the DIY route is saving on labor costs. Most of the expense is the disposal unit itself, and professional labor can add a significant amount.
The DIY path makes sense when you’re simply swapping an old disposal for a new one with existing plumbing and electrical connections. Be honest about your comfort level with basic plumbing and electrical work. If you have some experience, the project should take one to four hours.
Professional installation is the smarter choice for more complex scenarios. Installing a disposal for the first time often requires modifying plumbing or adding new electrical circuits, which is professional territory. If your kitchen lacks a dedicated outlet or the wiring looks questionable, call a licensed electrician.
If the under-sink plumbing is corroded, has an unusual layout, or you find unexpected leaks, a professional plumber can assess and handle these issues correctly.
Also, consider the time and tool factor. If you lack the tools or time, hiring a professional is a smart choice. A skilled plumber can often finish a straightforward installation in about an hour.
For complex jobs or when you simply lack the time or tools, the certified technicians at Allied Plumbing, Heating & Cooling ensure a safe and correct installation. Our Plumbing Services cover everything from simple replacements to complex new installations, giving us the confidence that the job is done right the first time.
There’s no shame in recognizing when a job calls for professional expertise—that’s just smart homeownership.
Conclusion
We’ve shown that garbage disposal installation, while seemingly intimidating, is a manageable project when broken down into steps. From choosing a model to mounting the unit and testing for leaks, we’ve covered the details you need for success.
Completing this project yourself is rewarding. You save money on installation fees and gain valuable knowledge about your kitchen’s plumbing.
A properly installed garbage disposal transforms daily kitchen life. It makes cleanup faster and more hygienic, reduces household waste, and with proper maintenance like running cold water and grinding ice cubes, this appliance will serve you for 10-12 years.
Of course, not every homeowner is comfortable with electrical and plumbing work. There’s absolutely no shame in calling the professionals when a project feels beyond your comfort zone or you lack the time. The peace of mind from an expert installation is often worth it.
Whether you tackled this project yourself or decided to call in the experts for a worry-free experience, you now have a fantastic kitchen upgrade that will make your daily routines smoother.
For any plumbing needs in the Sherman area, our team at Allied Plumbing, Heating & Cooling is ready to help. We’ve been providing reliable, prompt, and professional service since 1977, building lasting relationships with customers who trust us with their homes year after year. Contact our expert plumbers in Sherman today!