Why Professional Exhaust Fan Installation Matters for Your Home
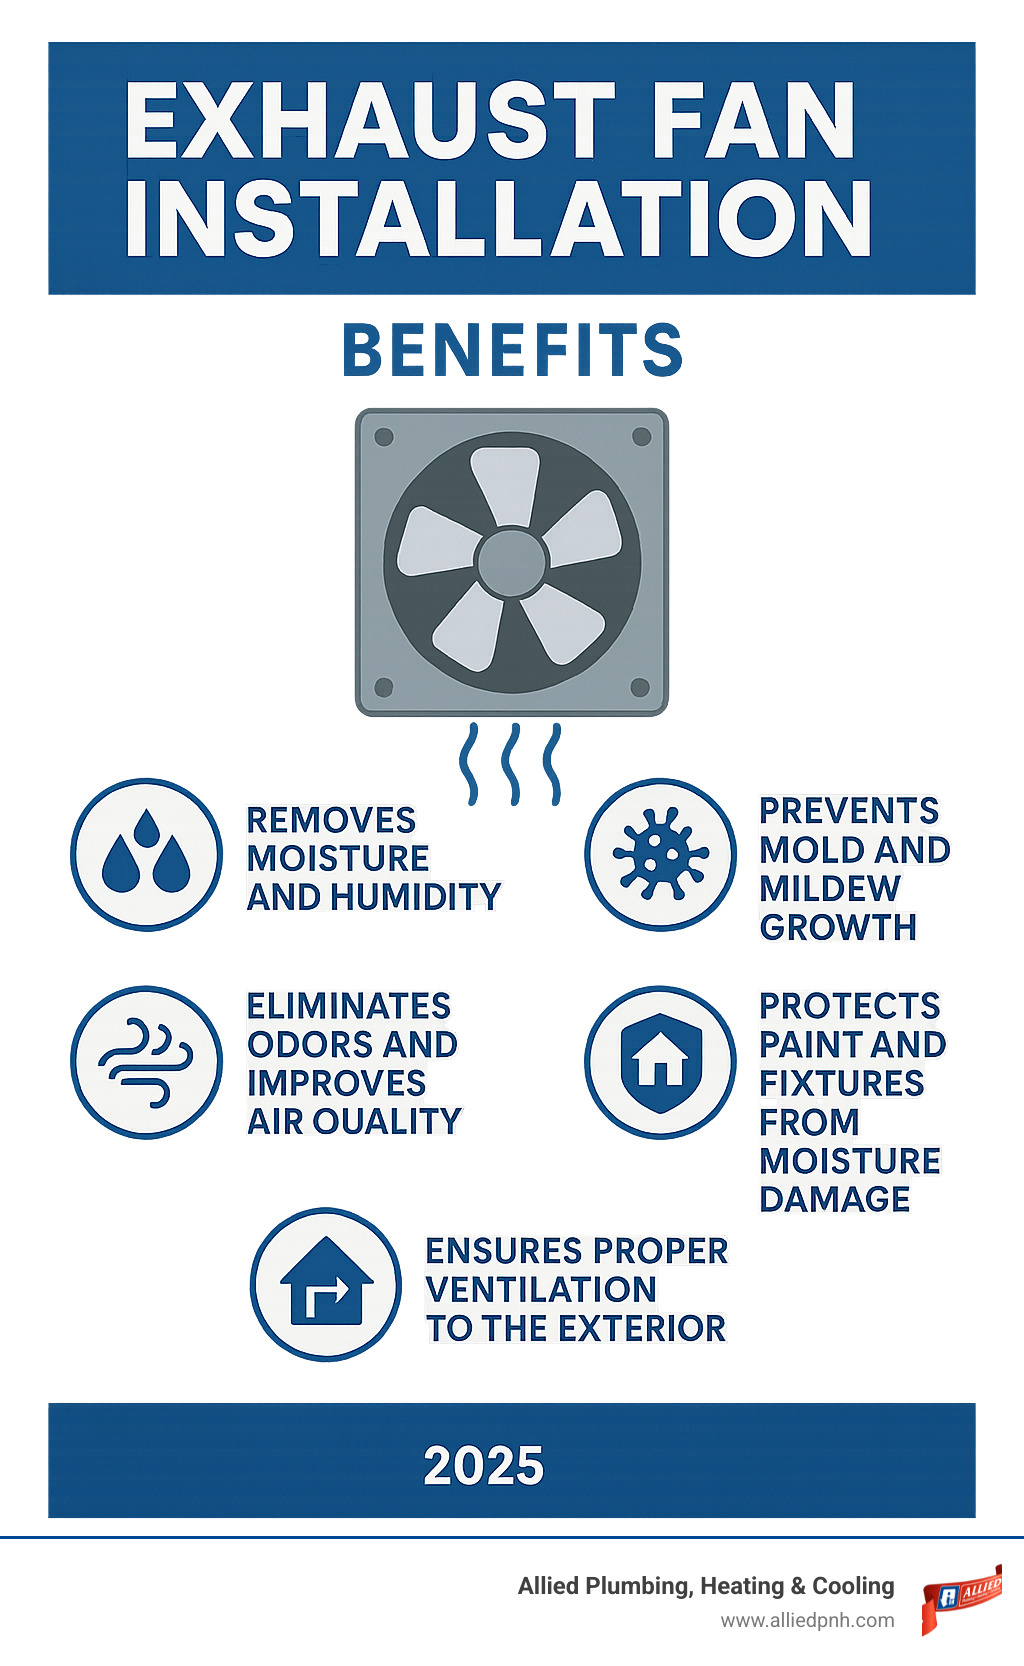
Exhaust fan installation is a critical home improvement project that directly impacts your family’s health and your home’s structural integrity. When done correctly, a properly installed exhaust fan removes moisture, prevents mold growth, and protects your investment. When done wrong, it can cause expensive damage and health risks.
Quick Guide to Exhaust Fan Installation:
- Who to call: Electrician for wiring, HVAC technician for venting, or general contractor for both
- Key requirement: Must vent to the exterior – never into an attic or crawlspace
- Sizing: Multiply bathroom square footage by 1.1 for CFM rating needed
- Installation time: Typically 3-6 hours for professionals
- Permits: May be required depending on local building codes
As one home improvement expert put it: “A bathroom without a ventilation fan is like a fireplace without a chimney.” The moisture from hot showers has to go somewhere, and without proper ventilation, it settles into your walls, ceiling, and attic – creating the perfect environment for mold and structural damage.
The installation process involves electrical work, cutting through walls or ceilings, running ductwork, and ensuring proper exterior venting. While some homeowners tackle this as a DIY project, the complexity of electrical connections and building code requirements often make professional installation the safer, smarter choice.
Whether you’re dealing with fogged mirrors, lingering odors, or visible mold growth, getting your exhaust fan installed correctly is essential for maintaining a healthy home environment.
Why Proper Ventilation is Non-Negotiable for Your Home
When you step out of a hot shower into a bathroom with fogged mirrors and damp walls, it’s more than a minor annoyance—it’s a sign your home needs better ventilation.
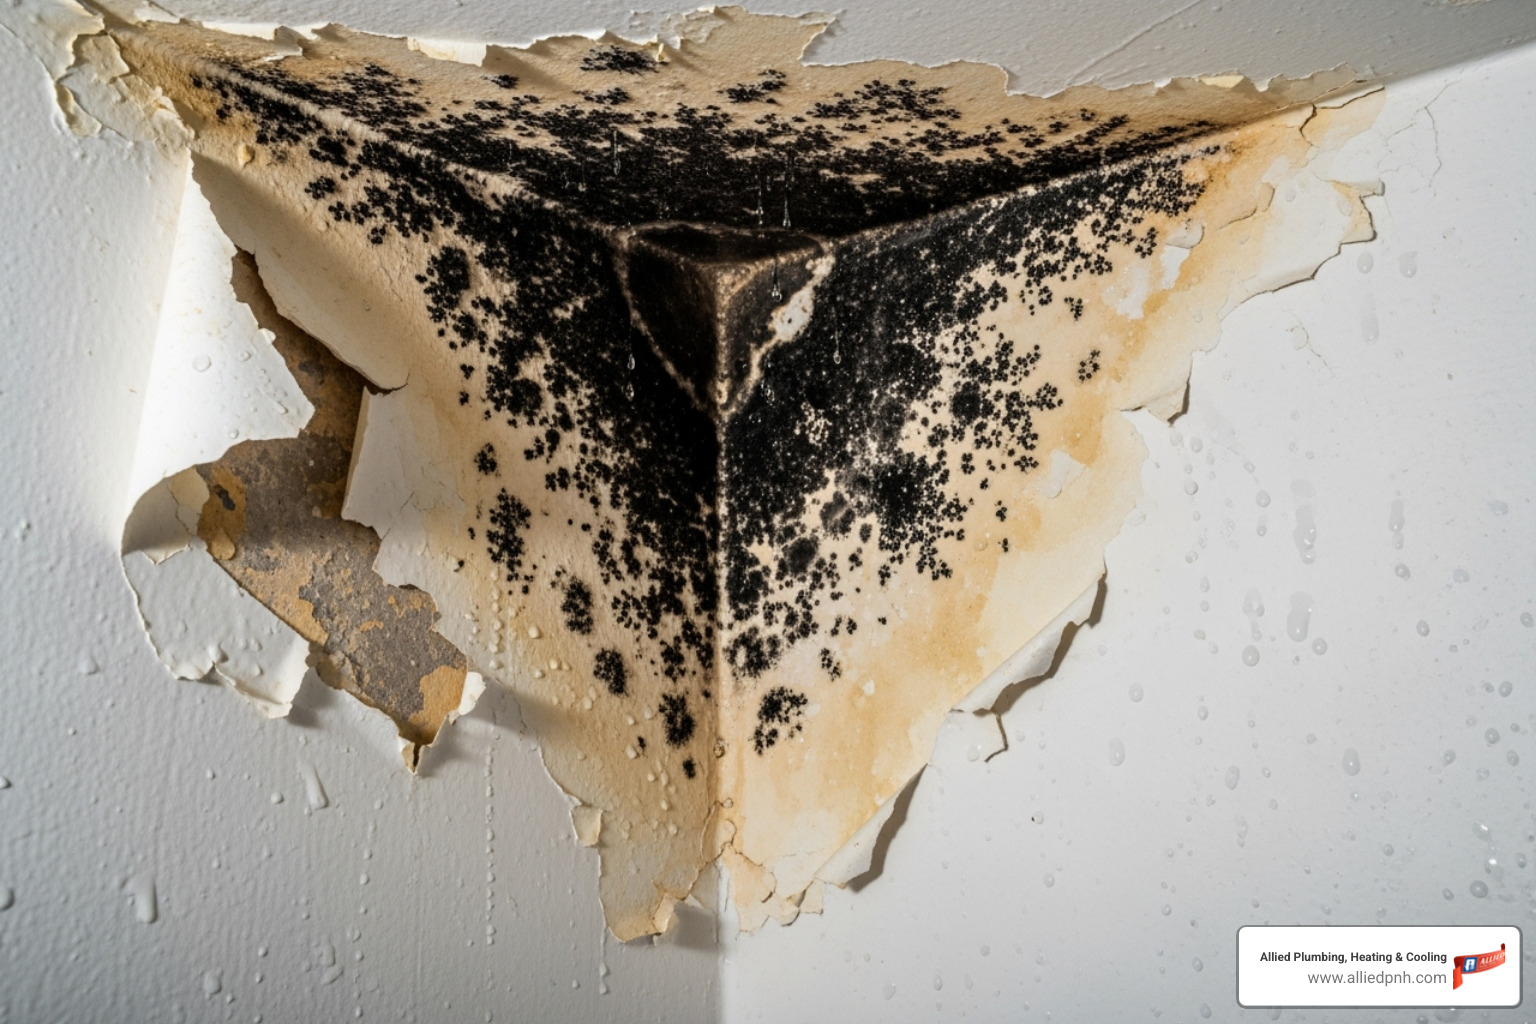
Moisture control is the foundation of a healthy bathroom. Without proper ventilation, excess humidity seeps into your walls and ceiling, creating the perfect conditions for mold and mildew to grow. Mold spores thrive in these environments and can trigger serious respiratory problems, allergies, and asthma, particularly affecting children and the elderly.
Persistent moisture also damages your bathroom’s surfaces. It can cause paint to peel, wallpaper to bubble, and cabinetry to warp and deteriorate. Even tile grout can become discolored and crumble.
Beyond moisture, a quality exhaust fan installation provides odor elimination. A properly working fan whisks away stale air, unpleasant odors, and fumes from cleaning products, improving your indoor air quality.
The Dangers of Venting into an Attic
A common and costly mistake is venting a bathroom exhaust fan into an attic or crawlspace. This is a recipe for disaster and should never be done.
When warm, moist air from your bathroom hits cold attic surfaces, it causes severe condensation issues. This moisture saturates insulation, rendering it useless, and drips onto wooden beams and rafters.
The structural rot potential is significant. Constant moisture exposure will rot wood, compromising your home’s structural integrity and potentially leading to tens of thousands of dollars in repairs.
Your attic can also become a paradise for mold growth. Attic mold can spread across vast areas, creating a health hazard that affects your entire home’s air quality.
Most importantly, venting into an attic violates building codes in virtually every jurisdiction. These codes exist to protect your home and your family’s health. Venting to the outdoors is mandatory, not optional.
Proper Venting Paths
Proper venting is achievable with the right approach. Your exhaust fan must direct air completely outside your home through one of several effective paths.
A roof vent is ideal when your bathroom is located directly below the roofline, allowing for a short, straight duct run for maximum efficiency.
For bathrooms near exterior walls, a wall vent is often the simplest solution, with ductwork passing directly through the wall to the outside.
When roof or wall venting isn’t practical, a soffit vent is an excellent alternative. The ductwork runs to the soffit (the underside of your roof’s eaves) and exits there.
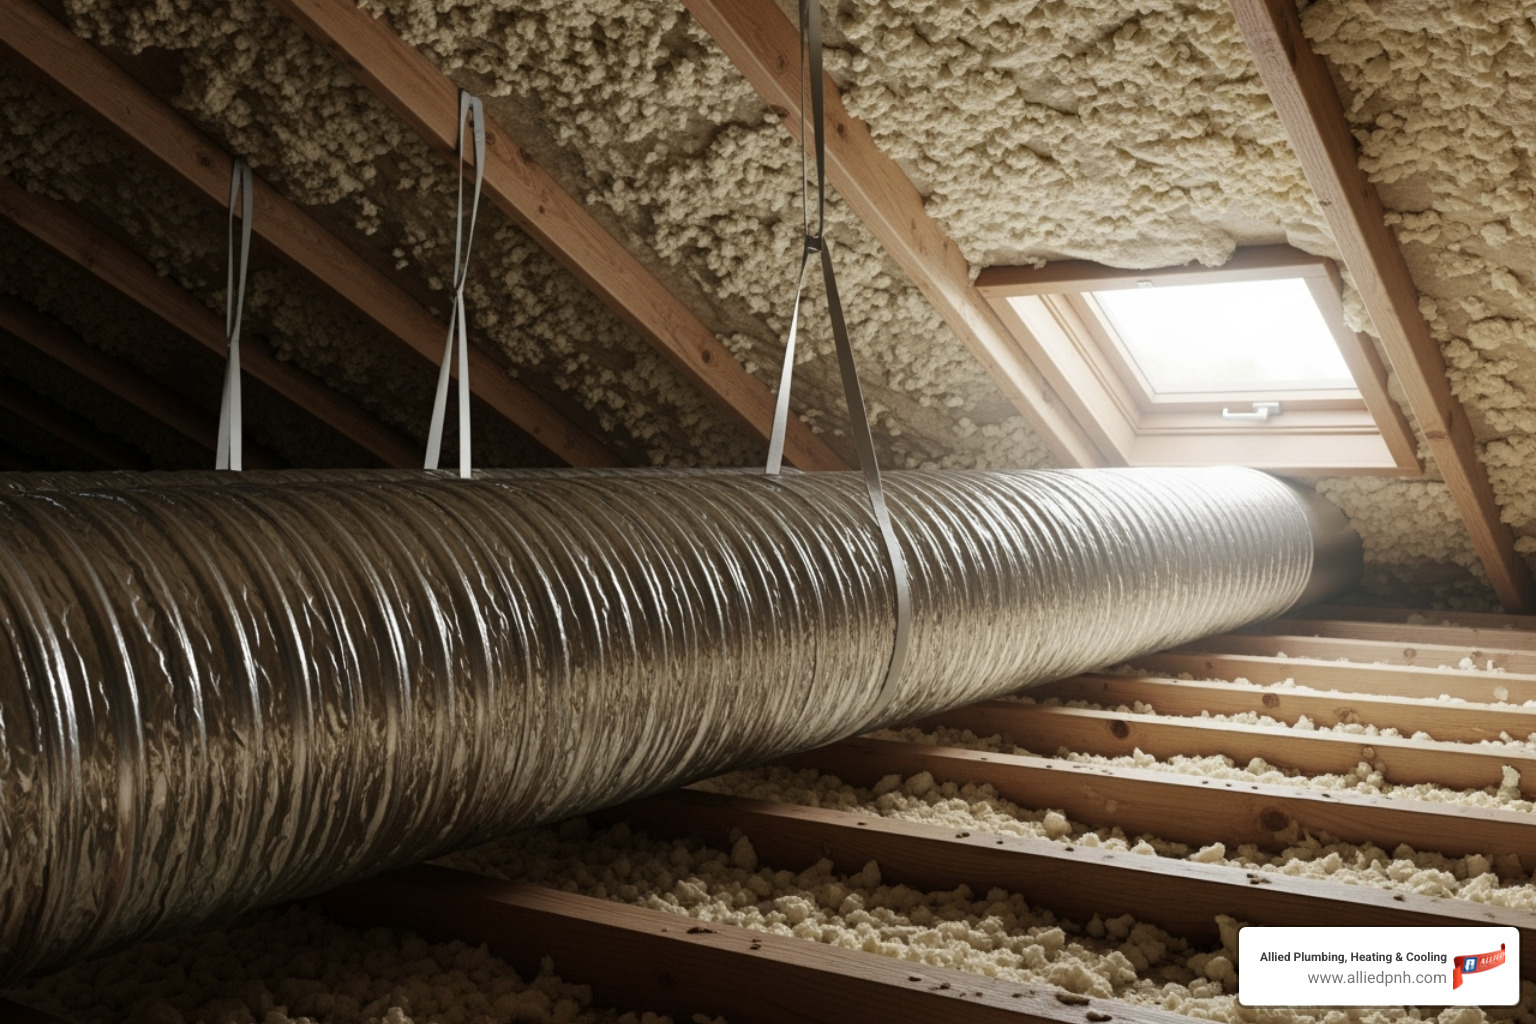
Regardless of the path, insulated ductwork is critical, especially in colder climates or when ducts pass through unconditioned spaces like attics. Insulation prevents condensation from forming inside the duct, which would defeat the purpose of the fan. The key is keeping the duct run as straight as possible with minimal bends to maximize airflow.
Choosing the Right Bathroom Exhaust Fan
Choosing the right exhaust fan requires understanding a few key factors: power, noise level, features, and type. Getting these right ensures your bathroom stays healthy and comfortable.
Successful exhaust fan installation starts with selecting the right unit. You’ll want to consider the fan’s power (CFM rating), noise level (sones), extra features, and the best type for your bathroom’s layout.
Your exhaust fan is a key part of your home’s comfort system, working alongside your HVAC to maintain a healthy indoor environment. At Allied Plumbing, Heating & Cooling, we understand how these systems work together. For more information, visit our HVAC services page.
Sizing Your Fan: Understanding CFM Ratings
CFM stands for Cubic Feet per Minute—it measures how much air your fan can move out of the bathroom each minute. Getting this number right is crucial for effective ventilation.
The formula is straightforward: take your bathroom’s square footage and multiply by 1.1.
For example, a 10-foot by 10-foot bathroom is 100 square feet. Multiply 100 by 1.1, and you get 110 CFM. You would need a fan rated for at least 110 CFM to properly ventilate that space.
This formula works for most standard bathrooms. For ceilings over 8 feet or bathrooms larger than 100 square feet, you may need a higher CFM rating.
Need help with the math? Here’s a calculator to find your CFM needs that does all the work for you.
Considering Noise Levels and Features
Nobody wants a loud bathroom fan. The noise level is measured in sones—the lower the sone rating, the quieter the fan. For perspective, a refrigerator is about 1 sone. Bathroom fans range from a whisper-quiet 0.5 sones to a loud 6.0 sones. Most people find fans under 2 sones to be comfortable.
Modern exhaust fans also come with a variety of features:
- Integrated lights combine ventilation and lighting in one unit.
- Heaters provide extra warmth but require more complex electrical work, including dedicated circuits.
- Humidity sensors automatically turn the fan on when moisture rises and off when the air is clear.
- Occupancy sensors detect when someone enters or leaves the room.
- Timers allow you to run the fan for a set period after you leave.
Types of Bathroom Exhaust Fans
The right type of fan depends on your bathroom’s layout and installation accessibility.
- Ceiling-mounted fans are the most common type, installed between ceiling joists. They work well for most bathrooms but require attic access for ductwork.
- Wall-mounted fans are ideal for bathrooms on an exterior wall or where ceiling installation isn’t practical. They don’t require attic access for the fan unit itself.
- Inline fans (or remote fans) are the quietest option. The motor is located remotely in an attic or other space, with only a quiet grille in the bathroom. They are perfect for those who prioritize peaceful operation.
The Professional Exhaust Fan Installation Process Explained
A proper exhaust fan installation requires precision and careful planning, whether it’s a new install or a replacement. The complexity varies, as a replacement may use existing wiring and ductwork, while a new installation means creating a complete ventilation system from scratch.
Safety is always the first priority. Before any work begins, we ensure all power to the area is shut off. Verifying a circuit is dead is a non-negotiable step.
Gathering the Right Tools and Materials
A successful exhaust fan installation depends on the right tools and materials. Our technicians arrive fully prepared to avoid delays.
The essential tools include a stud finder, drill/driver, reciprocating saw, pliers, wire cutters, safety glasses, dust mask, and a high-voltage neon tester to confirm circuits are off.
For materials, we bring the new exhaust fan unit (sized for your bathroom’s CFM needs), insulated flexible duct, an exterior vent cap with a damper, foil tape for sealing connections, silicone caulk for weatherproofing, and the appropriate electrical wiring (standard 14-2 or heavier 12-3 for fans with heaters).
Key Steps for a New Installation
Installing a new exhaust fan involves several critical steps:
- Planning the optimal location: We use a stud finder to locate a spot between ceiling joists, ideally between the shower and toilet to capture moisture most effectively.
- Cutting the ceiling opening: We carefully mark and cut a precise opening, using measures to contain dust and debris.
- Mounting the fan housing: The housing is secured to the ceiling joists, often from the attic, ensuring it is stable and level to prevent noise.
- Running ductwork to the exterior: This is a crucial step. We run insulated duct from the fan to an exterior vent (roof, wall, or soffit), keeping the run as straight and short as possible. All connections are sealed with foil tape to prevent leaks.
- Installing the vent cap: The exterior vent cap is carefully installed and sealed to be weathertight and prevent water intrusion.
- Making electrical connections: We safely connect the fan’s wiring to a power source and install a new switch if needed. Fans with heaters require a dedicated 20-amp circuit, as per electrical codes.
Replacing an Existing Fan vs. a New Install
Replacing an existing fan is often simpler than a new installation. We first assess the existing setup. If the wiring and ductwork are in good condition, they can sometimes be reused.
However, challenges can arise. If the new fan is a different size, the ceiling opening may need to be adjusted. If the existing ductwork is old, damaged, or uninsulated (a common issue), we recommend replacing it to prevent future condensation problems.
New installations are more complex because everything is created from scratch: new openings, new ductwork, and often new electrical circuits. The complexity increases for fans with features like a heater, which requires a dedicated 20-amp circuit and special 12/3 wiring.
This added complexity is why many homeowners choose professional installation. The combination of electrical work, ductwork, and building code compliance makes it a job where experience is essential.
DIY vs. Hiring a Professional: Making the Right Call
When facing a faulty bathroom fan, the idea of a DIY exhaust fan installation can be tempting to save money. However, it’s important to be realistic about the project’s complexity and your own skills.
An exhaust fan installation is more involved than many homeowners realize, combining electrical work, cutting into ceilings, and running ductwork. It’s crucial to know when to call a professional.
When to Call a Professional for Your Exhaust Fan Installation
Some projects are not suited for a weekend warrior approach. Here’s when you should call in the experts:
- Electrical work makes you nervous: If you’re not experienced with electrical circuits, it’s best to hire a pro. Mistakes can lead to fire hazards or dangerous shocks.
- Your new fan has special features: Heaters, humidity sensors, or timers often require specialized wiring or dedicated 20-amp circuits that are best left to an electrician.
- You’re starting from scratch: A new installation without existing ductwork involves cutting holes, navigating attics, running new ducts, and adding electrical circuits—a much more involved job.
- Building codes and permits are confusing: Professionals stay current on local codes and handle any necessary permits, ensuring your project is compliant and won’t cause issues later.
- You value your time and peace of mind: Hiring a professional ensures the job is done right the first time. Since 1977, we’ve helped homeowners in the Springfield area with these projects and have seen the costly results of improper installations.
Understanding the Costs
While every job is different, several factors influence the total cost:
- The fan itself: Prices range from basic models to high-end units with more features, better durability, and quieter operation.
- Replacement vs. new installation: Swapping an existing fan using current wiring and ductwork is more straightforward and less expensive than a new installation that requires new runs.
- Wiring complexity: This is often the biggest variable. A simple replacement might use existing circuits, while a fan with a heater will require a new dedicated circuit from your electrical panel.
- The type of professional: Depending on the job, you may need an electrician, an HVAC technician, or a general contractor who can manage both aspects.
Professional installation is an investment in safety, efficiency, and compliance. That peace of mind is often worth every penny.
Telltale Signs Your Exhaust Fan Needs Attention
Your bathroom exhaust fan works hard every day, quietly removing moisture and odors to keep your home healthy. But like any hardworking appliance, it won’t last forever. Most exhaust fans have a lifespan of 7 to 10 years, though many start showing their age well before hitting that decade mark.
The good news? Your fan will usually give you plenty of warning signs before it completely gives up. Recognizing these early signals can save you from dealing with moisture damage, mold growth, and the headaches that come with them.
Loud or unusual noises are often the first red flag. If your once-quiet fan suddenly sounds like it’s trying to take off for Mars, or you’re hearing grinding, rattling, or squealing sounds, the motor or fan blades are likely wearing out. A properly functioning fan should hum along quietly in the background – not announce its presence to the entire house.
Reduced performance is another clear indicator that something’s not right. Are your bathroom mirrors still fogged up long after your shower? Do unpleasant odors seem to linger no matter how long you run the fan? When your exhaust fan stops doing its primary job of clearing moisture and smells effectively, it’s time to investigate. This could mean a weakening motor, a clogged grille, or problems with the ductwork.
Sometimes the problem is obvious: the fan simply won’t turn on. When you flip the switch and nothing happens, you’re likely dealing with an electrical issue, a tripped breaker, or a motor that’s called it quits entirely.
Perhaps the most concerning sign is visible mold or mildew growth on your bathroom walls, ceiling, or grout lines. If you’re seeing these unwelcome guests despite regular cleaning, your ventilation system isn’t keeping up. The fan might not be moving enough air, or worse, it could be improperly vented – sending all that moisture right back into your home.
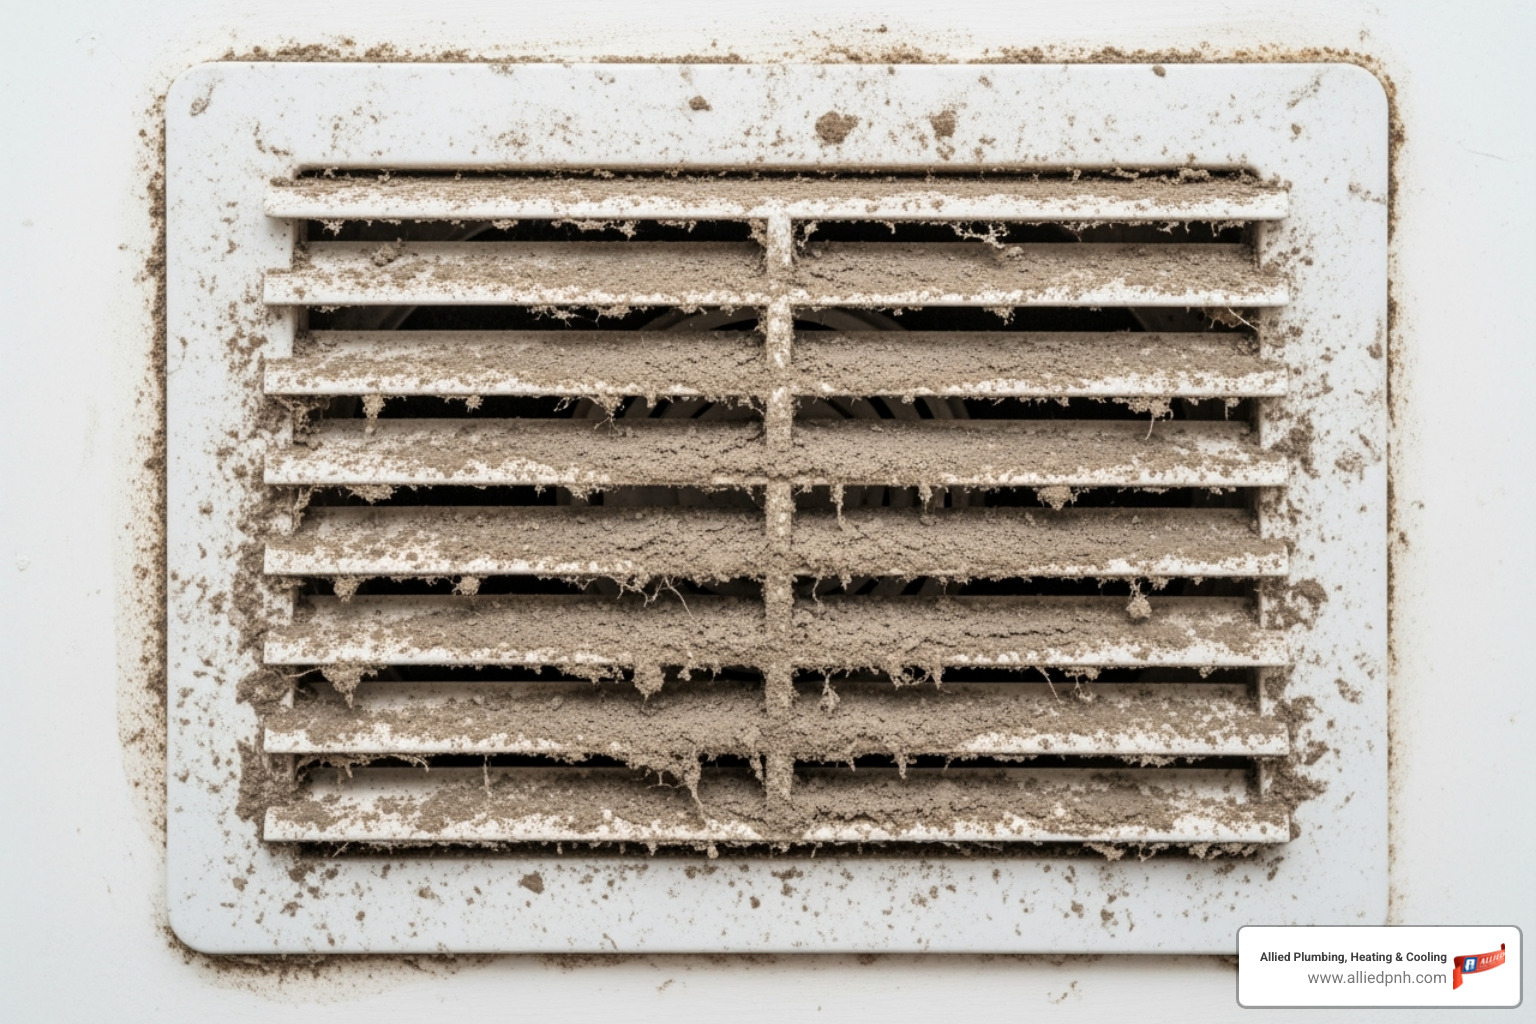
Don’t overlook excessive dust or debris buildup on the fan grille either. While a little dust is normal, a heavily clogged grille restricts airflow and reduces efficiency. Sometimes a good cleaning helps, but persistent buildup often points to deeper issues.
If any of these warning signs sound familiar, don’t wait until the problem gets worse. Addressing exhaust fan installation or replacement needs promptly protects your home from costly moisture damage and keeps your family’s living environment healthy and comfortable.
Conclusion: Ensure Your Home’s Health with Professional Installation
Your bathroom exhaust fan might seem like a small detail, but it’s actually one of your home’s hardest-working heroes. Day after day, it quietly battles moisture, fights off mold, and keeps your air fresh and healthy. When it’s working properly, you barely notice it. When it’s not, the problems can pile up fast.
Think about everything we’ve covered: the moisture damage that can warp your cabinets and peel your paint, the mold growth that threatens your family’s health, and the structural issues that can cost thousands to repair. All of these problems are preventable with a properly installed exhaust fan that vents to the outside.
While some homeowners feel confident tackling an exhaust fan installation themselves, the reality is that this project involves electrical work, cutting through your home’s structure, and ensuring code compliance. One mistake with the wiring could create a fire hazard. Improper venting could dump moisture into your attic, causing expensive damage down the road.
That’s where professional installation makes all the difference. Our experienced technicians handle every aspect of the job – from sizing the right fan for your bathroom to running proper ductwork to the exterior. We know the local building codes, we have the right tools, and we’ve been doing this work reliably since 1977.
At Allied Plumbing, Heating & Cooling, we understand that your home is your biggest investment. That’s why we approach every exhaust fan installation with the same attention to detail and commitment to quality that has earned us loyal customers throughout the Springfield area. Our work is backed by the Daikin Comfort Promise, giving you confidence that the job will be done right the first time.
Don’t wait until you see mold growing on your ceiling or smell that musty odor that won’t go away. Protect your home’s health with professional installation that you can count on.
Contact our team for expert plumbing and HVAC services in Sherman.


